Reference Tracks: The Secret to a Great Mix
Want to sound like your heroes? Reference tracks are the answer. References are one of the best ways to quickly improve a mix. First, create the ideal home studio that makes mixing easy. Then use reference tracks to become a better mixer FAST. They keep you from 'mixing blind' by showing you how the pros do it.
In this article, we will share with you exactly what reference tracks are, how to find them, and how to use them properly.
What is a reference track?
Think of yourself as a painter. Let's say you wanted to paint a picture of the wheat field on your cousin's farm. If you stood there, had a good look at it, then went home and started to paint, how accurate do you think your painting would be?It would be a rough estimate of what you remember the field looking like. It may look good, but it wouldn't be accurate!
Now, let's say you decided to bring your camera with you on this trip to the farm. You snap a picture of the field and head home. Once you're there, you start your work. Some yellows here, a splash of blue there, and… voilà! A perfect painting. That's what a reference track is. It's your own personal picture of the field.
In the real world, a reference track is a professionally mixed song that sounds similar to the one you're mixing. You frequently compare your mix to the reference in order to get a clearer idea of what you're going for. You ask yourself questions that help you to focus your mixing choices:
- How does the midrange sound?
- Is my song intense enough?
- Is the volume of the vocals okay? What about the snare?
- Is my low end too boomy?
- And so on and so forth.
What are the benefits of a reference track?
You're reaping several benefits by taking a few extra seconds to add a reference. First and foremost: It's easier to mix. Decision fatigue is a constant problem when mixing. There are so many small choices that add up to a finished product. It's easy to get lost in the weeds. It's exhausting, and your mixes suffer because of it.
How do you know if something 'sounds right' if you have nothing to compare it to? Basically, using a reference track helps keep your focus on the final goal. It allows you to compare your mixing decisions to the mixing decisions made in the reference. The closer they sound, the less extra work you need to do, so less decision fatigue sets in.
It's almost like having a treasure map. You can follow along the dotted red line to find the gold, rather than searching through the entire desert island. Speaking of which - it's also faster.
By 'following the map,' there's so much extra work you're not doing! You are getting to the goal more quickly because you have a better idea of the moves you need to make to get there. There's less guesswork and second-guessing than before.
Using references also makes your mix more translatable. Professional mixers MAKE SURE that their work is going to sound great on everything. They know that their client is going to be played on the radio, in cafes, in clubs, in earbuds, and on phones. They HAVE to make their mixes translate. If they don't, they lose their job. Could you imagine if a Bruno Mars song sounded great in the mixer's studio, but trash everywhere else? We wouldn't still be dancing to Uptown Funk two years later, that's for sure. So by basing your mix off their work, you make sure your mixes are just as translatable as theirs.
Finally, the obvious: using reference tracks will simply make your song sound professional. If you're basing your work on the pros, your work is going to sound like the pros! These songs are proven to be loved by their particular audience. If you're picking the right song, no one ever stopped listening to it because 'it sounded bad.' Revisiting our painter metaphor, think of it as having an extremely professional camera. That picture you took is so high quality that it's almost as if you're standing in the field as you paint.
How to Find Your References?
Finding references is pretty simple. When you hear a song that you think sounds great, take note of it. Keep a running list on your phone so you can take notes on the go. Or create a playlist on your preferred streaming service for your references and add each new song you find. i like keeping a playlist for each genre of music, so it's easier to find the songs I want to use for a project. When selecting reference tracks for your specific session, try to select songs that you want your mix to sound like.
Usually, this means that they will be in the same genre of music as your song. You can also select songs that you like specific elements of. For instance, you like the vocal sound or the drum sound. Maybe the low end sounds great. You can use different references to accomplish different goals.
Try to use songs that were professionally mixed, mastered, and released. The odds of those sounding good on all systems are much higher than if you were to use a low-budget indie track.
That doesn't mean you can't use indie tracks. If that's the vibe you're going for, awesome! But you are rolling the dice on your song being translatable. If you use an indie song as a reference, try to use a professionally mixed song as well. That will increase your chances.
How do you use reference tracks?
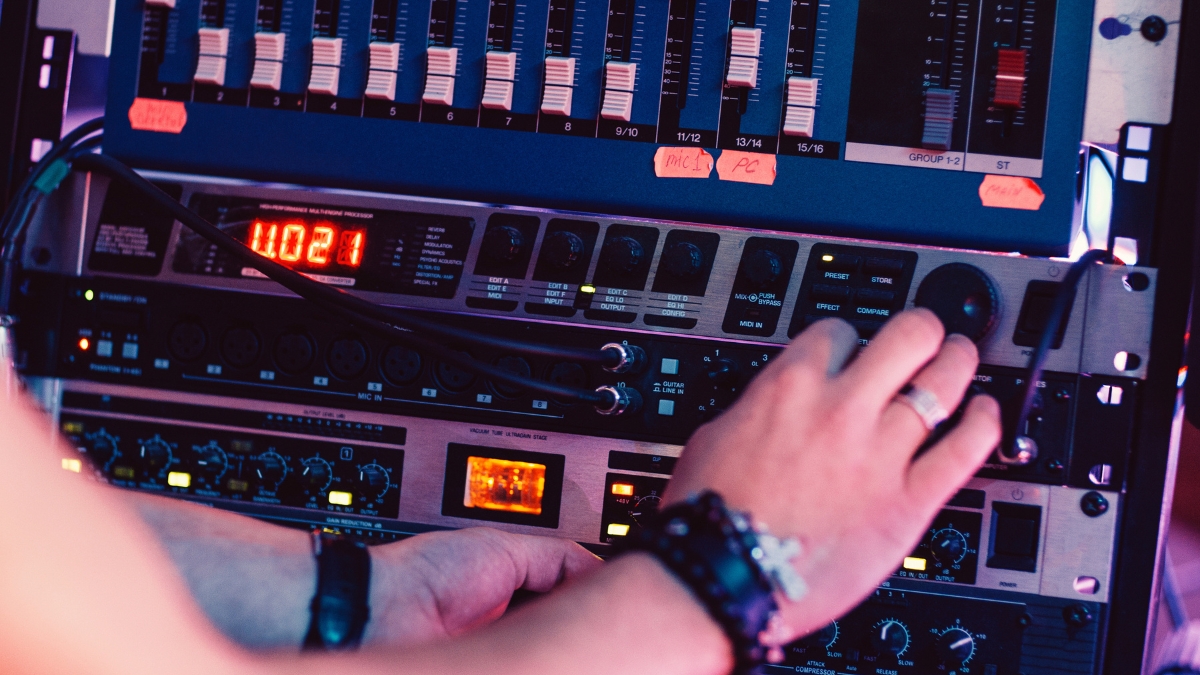
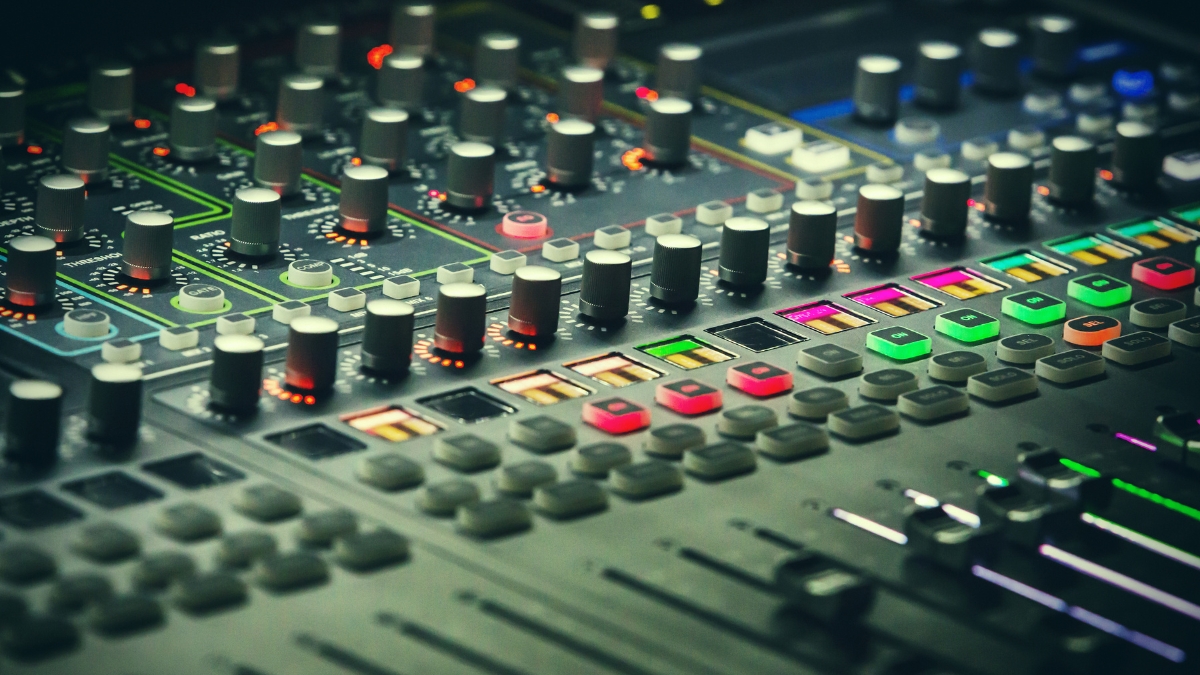
Now let's talk about how to actually use your reference tracks. Once you've found the reference tracks you want to use, you simply need to import them into your session. Put each on separate tracks so that you can adjust their volumes individually.
IMPORTANT: Make sure the reference track isn't being processed by any effects on your master bus! Otherwise, it won't be accurate. To avoid this, create a stereo aux track that will function as your mix's stereo output. Send all of your recordings there and put any plugins you want for the mix buss on that track. Then, send your faux-stereo-out and the reference tracks to the actual stereo output. Simple as that!
Alternatively, use a plugin made for referencing (like Magic AB) in your last plugin slot on the master fader.
Once the references are imported, I like to put them later on in the session and flag each with a marker in my DAW. In most DAWs, there are keystrokes that let you jump between markers. Just go to your own DAW's keyboard shortcut section and do a little searching to find it. By setting up markers, you can easily jump between your song and your references. It'll help your workflow tremendously.
Remember: you can use more than one reference track! In fact, I'd recommend it.
It'll keep you from trying to make your song sound EXACTLY like your reference. These are meant to be great guidelines, not absolute rules! Trying to replicate the reference exactly could actually do more harm than good. Once the tracks are in your DAW, you'll want to volume match them to your mix. This is an extremely important step because we naturally perceive louder sounds as being both bassier and brighter. You won't be making any accurate moves if your references haven't been made to be the same loudness as your song.
First, make sure you're playing your song and your references at the loudest part of each song. This likely the last chorus. After that, there's a few different methods to volume matching. Most simply, you can just use your ears to match the two tracks. This isn't the most accurate way, but it's quick and easy.
Another way is to bring up an RMS meter. Most DAWs have one. Put it on the stereo output, and play one track at a time.Because RMS takes an average of the sound over a short time, it's a more accurate way of perceiving how loud something actually is than your standard peak meter. Watch where the meter is hovering. Try to get all of the songs to hover at around the same area. You can also use a VU meter, if you have one. They're fairly similar.
Once your tracks are volume matched, you are good to go! Listen to your track, then listen to your references. Back and forth. Ask yourself questions about the mix. The ones I documented up above are great. Here's a few more examples:
- Does my song sound wide enough?
- Are my instruments getting the right amount of separation?
- Is there enough space for the vocal? Is it poking through the instrumental?
- Is the vocal bright enough?
- Does my song hurt my ears more than the reference?
- Does the guitar tone sound the way I want it?
- Are the bass and kick playing nicely together? Are they playing nicely with the rest of the track?
There are dozens of questions you could ask. The point is that it forces you to make intentional mixing decisions. You're able to solve problems because you're able to actually hear the problems. This is more a matter of personal taste. Some people will compare every hour, or after every break. Others will compare once they've gotten about halfway through their mix. Find what works best for you, and stick with it. The faster you can build the habit, the easier referencing will be.
BONUS TIP: The Stereo Out Filter Trick
When I'm trying to really zero in on a certain part of the frequency range, I love using this trick... Put a filter on the stereo output to hear just the section you want to focus on. For example, if you're wanting to 'solo' the low end of your song and the reference track, put on a hard Low Pass Filter at 200Hz. If you're wanting to hear just the highs, put a High Pass Filter at 6kHz. If you're wanting to just hear the low mids, use both an LPF and an HPF to focus in on 200-600Hz. It helps to answer very specific questions like is my low end too loud or do my cymbals feel too bright.
And there you have it! Simpler than it sounds, isn't it? Using references in your mixes is the next step towards creating a pro mix. You'll get better results with them, I guarantee it. Want to know my custom reference track playlist? I made an eBook just for you with my 31 go-to reference tracks. These are stellar mix examples. They'll help get you started on creating your own personal reference list.
Download Rob Mayzes my reference tracklist here, and go make better mixes!

Comments:
Login to comment on this post