How to Make Music: A Beginner's Guide to Music Production
It has never been easier to create music than it is today, but knowing where to start can still be something of a challenge. There are thousands of YouTube tutorials, blogs and online courses to choose from, but how do you pick the right ones?
Besides, the creation of music is such a big subject that it can be hard to figure out what your first steps should be.
Well, we’re here to help! Whether you’ve been playing a musical instrument for years and want to move into composing music, or if you’re just a music fan who has never picked up an instrument but dreams of unleashing your creativity – we’ll break the music creation process down for you step by step.
As with any skill, becoming an expert in music-making is tough. It is an incredibly rewarding way to spend your time, however, and you may be surprised how quickly you can start making music that sounds really pretty good!
We’ll explain the tools you need before diving into the processes for making beats, writing melodies and creating chord progressions.
We’ll also discuss how you can polish your creations up by mixing and mastering them; getting them ready to share with your soon-to-be-adoring public!
The Tools You’ll Need to Make Music
You’ve probably heard stories about how incredibly expensive it is to build recording studios. At the top end, sure, they can cost a fortune – but it’s completely unnecessary to spend a huge amount of money in order to get started. Plenty of hits have been created in bedroom studios and for someone just starting out, you can get stuck into music making quickly and easily by simply getting hold of a few simple tools.
DAW
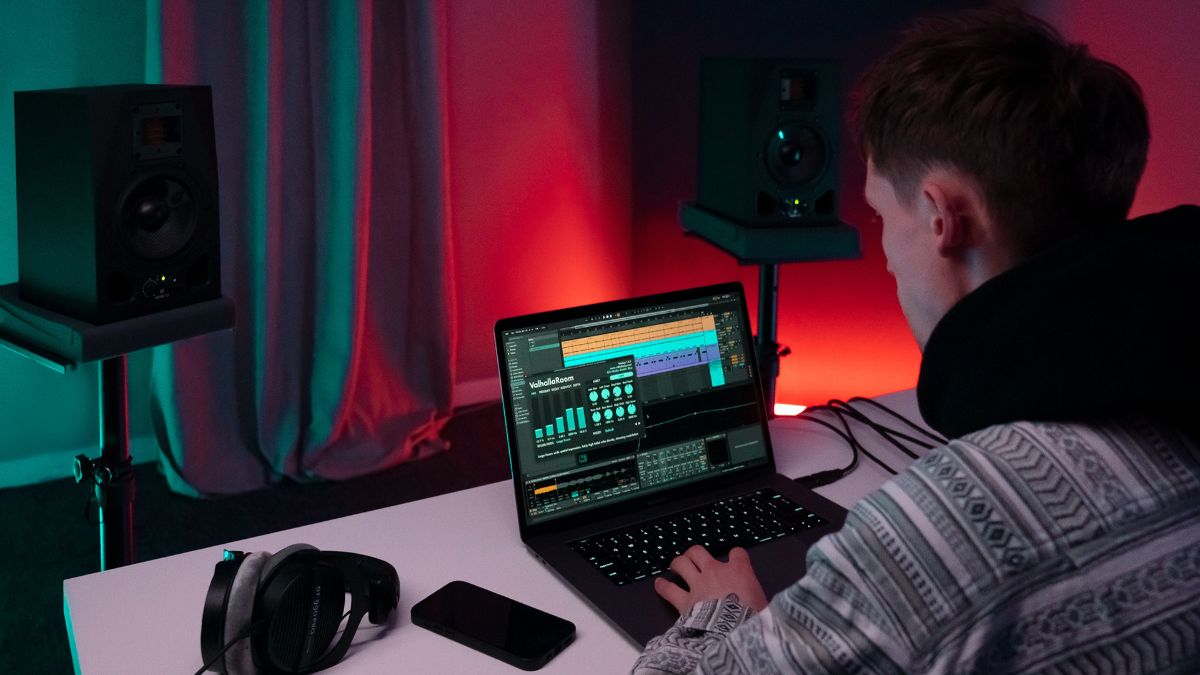
The first thing you’ll need on your music-making journey is a computer and a piece of software called a Digital Audio Workstation – or DAW for short. DAWs are comprehensive packages that contain all of the tools that you need to take your new piece of music from the first spark of an idea through to a release that could be played on the radio.
A DAW can be used to record audio into your computer, or to assemble samples into a musical arrangement. It allows you to edit audio – move it around and alter it. It also gives you the option of playing ‘virtual instruments’ using MIDI technology.
When you have finished writing your piece of music, you can also mix and master it right there in your DAW. These are the processes of balancing parts and adding effects to take a track from raw, ‘demo’ form into a polished product that you will be proud to share with the world!
There are a large number of DAWs out there and trying to figure out which one is best for you can be really daunting. Many producers are extremely opinionated on which is the best – in a way that is quite frankly unhelpful to beginners. Our advice is not to let this decision weigh too heavily on you – honestly, they all do basically the same things and you can make an excellent piece of music in any of them.
As your musical skills develop, you might eventually gravitate towards one or another – for example Ableton Live is a great choice if you make electronic music, but Pro Tools, Cubase or Logic Pro are probably better if you want to record live musicians.
But to begin with the best advice is to try out a few different platforms using free trial periods. If there is one that you find more intuitive to use, and it fits your budget, then go for that one. You can always learn another one later – and eventually you might need to learn more than one for different projects anyway (I’ve had to use Pro Tools, Ableton and Logic Pro in different professional situations).
If you are really on a budget then there are some great cheap options out there. Garageband has a limited feature set but is free for Apple users – and is therefore a good place to start experimenting.
At only $60, Reaper is a fully featured DAW that is a good entry point into music production. Most of the more expensive DAWs also offer cheaper, limited-feature versions of their software for those starting out – Pro Tools, Logic Pro, Ableton, FL Studio and Cubase all provide this option.
Audio Interface
An audio interface is not essential for home music making, but it is a key piece of equipment in many studios. An interface is a piece of hardware that knits your home studio together. It connects your laptop to your studio monitor speakers, and to any live input – such as a guitar or a microphone – that you want to record.
Studio speakers are nice to have but working on headphones is perfectly OK to begin with – more on this below. So the main reason you’d probably want an interface right away is if you are a singer or instrumentalist and you want to record yourself singing or playing into your DAW.
In recent years, great quality audio interfaces have become cheaper and cheaper. So while pro interfaces will generally cost $1000 or more, you can pick up an incredibly decent little interface for your project studio for $100 or less. At the cheaper end of the scale, check out the offerings from Focusrite and Behringer.
If you can spend slightly more you may also want to include interfaces from Universal Audio and PreSonus in your search.
Studio Headphones
Every pro studio has at least one pair of (probably very expensive) monitor speakers. No doubt you’ve seen plenty of pictures of them! Working on speakers is pleasant. It’s less tiring than working on headphones, and in an acoustically treated room, they will give you the most accurate representation of the music you are working on.
So, as a beginner music maker, do you need speakers? Absolutely not! If you want to invest in some, then sure go ahead, you’ll probably enjoy working on them. However, they are far from essential. Studio headphones are a much cheaper and more practical way forward when you are just starting out.
In fact, in many situations they might also be the most accurate option too. You might wonder why we’re so bothered about accuracy – so let’s explain.
Consumer headphones are built to make music sound great, and that’s understandable; audio companies want to offer their customers a great listening experience.
However if you mix your music on consumer equipment, rather than on pro audio equipment, you are not hearing it as it truly is – this can cause big problems when you then listen to it on different sound systems. Maybe it sounded great on your headphones – but it sounds terrible in the car! The more accurate your monitoring (listening) setup, the better your mix should translate to different systems.
Accuracy is also determined by the room you are listening in; that’s why acoustic treatment is so important in pro studios. The problem for most people that are just starting to make music is that they don’t get to choose where they work – it’s normally just the quietest space they can find in their home that will fit their equipment.
If you end up mixing music on your couch, or in the corner of the kitchen, there’s a good chance that you are making music in an environment that doesn’t have great acoustic properties – and this also colours the sound of your music. So in these situations, even if you have good speakers, the chances are they won’t be totally accurate. Headphones take the room out of the equation – which can make for better mixes.
There are some additional things you need to consider when mixing on headphones instead of speakers, but that shouldn’t hold you back. You can pick up great quality studio headphones from companies like AKG and Beyerdynamic at prices that won’t break the bank – and that are certainly much cheaper than buying speakers of comparable quality.
Plugins
Plugins are software components that can be added in to your DAW to enhance its functionality and offer more options for sound manipulation and processing. Roughly speaking, they can be broken down into three categories; virtual instruments, effects plugins and utility plugins.
Virtual instruments are software versions of traditional physical instruments – you can play them without any hardware. Effects plugins can be used to add effects such as reverb, delay, chorus, or distortion to audio in your DAW.
Utility plugins help with tasks such as audio analysis, metering, and monitoring; they don’t alter the sound of what you are doing, but they help you to analyse it.
You can spend an absolute fortune on plugins if you want to, but luckily you don’t have to. Your DAW will almost certainly come with enough plugins to get you started – virtual instruments such as synths and pianos are very common, and you will almost always get a toolkit of effects and utility plugins too; EQs, compressors, distortion and plenty more.
There are also a surprising number of great plugins out there that are available completely free. In fact, you probably won’t need to spend a penny on plugins for a good while. Take the time to learn the ones you already have, augment those with some free offerings, and when you hit a wall with those that you can get for free, only then do you need to start examining paid offerings.
Making Beats
If we analyse the fundamental components of music, we can identify three main elements: rhythm, harmony and melody. These three elements are interconnected and often work together in a piece of music. For instance, melodies and chord progressions will always have a rhythmic quality to them.
However these concepts are probably easiest to understand if we break them down and deal with them one by one. Let’s start with the rhythmic underpinning of the track; the beat.
What is Beat Making?
Beat-making is rooted in hip-hop music production. Simply put, this is the arrangement of samples into some kind of rhythmic pattern. A beat is a piece of music that doesn’t rely on any live instrumentation or original vocals – although a beat might well rely heavily on samples of vocals and live instruments.
How to Start Making Beats?
You can start making beats with very little knowledge of music theory, and with pretty much the simplest hardware setup imaginable – just a laptop, a DAW and some headphones. Over time you will probably want to add to your studio equipment, and you should probably learn some music theory fundamentals too (it might not be cool but it WILL help you!). However, making beats is a great way to start making music because the barriers to entry are so low. Just get in there and give it a go!
We’ve said that you don’t need much music theory to start making beats – but there are a couple of key concepts that you should definitely familiarise yourself with; rhythm and tempo.
Rhythm refers to the pattern of sound and silence in music that creates a sense of movement and flow. It refers to where in a bar a drum hit or musical note falls – but it also refers to the strength of each individual hit. Tempo is the speed at which the rhythm is played and is measured in beats per minute, or bpm for short. Hip Hop is normally somewhere in the region of 80-100bpm, house music sits between 120-130bpm and drum & bass will usually clock in at over 170bpm.
You can make a beat in your DAW by arranging samples that you have imported, or by using some kind of drum machine plugin. You can find samples on websites like Splice; simply download a selection of drum sounds and arrange them on your DAW’s timeline in the pattern and at the tempo you wish. You can also choose to download drum loops of entire beats that you can loop in your DAW. From there you can manipulate these loops if you wish, or simply leave them as they are.
You can program a drum machine plugin using a technology called MIDI that is built into your DAW. You can do this with a MIDI keyboard or drum pad if you have one, or you can program a beat fairly easily with the mouse on your laptop instead. There are countless tutorials of people creating beats from scratch on YouTube – search for some that demonstrate exactly how to do it in your DAW of choice and emulate the process; it’s the best way to learn.
Creating Chord Progressions
Once you have a beat in place, the next step is to create a chord progression to lay over it. A chord progression is like the skeleton of a piece of music, as it is the foundation for all your musical parts; it provides the framework for the melody and creates the tonal center or "key" of the song. It also creates the mood of the music – happy or sad, uplifting or melancholy.
What are Chord Progressions?
If you play two or more notes simultaneously, then you are performing a chord. By playing three, four, or more notes at the same time, we can gradually add more harmonic complexity to the chord. A chord progression is a series of chords played in a specific order that forms the harmonic structure of a piece of music.
A song will often shift from one chord progression to another as it moves between sections. So for instance, you might play a progression four times around for the verse of a song, and then change to a different progression which you play four times around for the chorus.
How to Write a Chord Progression
Writing a chord progression is hard without any knowledge of music theory. Luckily there are some incredible tools out there that can actually generate chord progressions for you – while also explaining the theory behind those progressions so that you can start to understand how to put them together yourself. With your chord progression written, you can program it into your DAW using MIDI, and play it back on a virtual instrument.
Writing Melodies
In simple terms, a melody is a series of notes played one after another – but that doesn’t really capture the magic of it! A melody is part of a song that we sing along to, the earworm that gets stuck in our heads. A great melody is what separates a hit song from a forgettable one.
What is Melody in Music?
Melody can be differentiated from harmony as in a melody only one note is ever played at once. With chords, we are dealing with harmony as we are sounding more than one note at a time. A lead singer sings the melody and backup singers add harmonies to this by singing other notes.
But we don’t just find melody in vocals – single instruments can also play melodies. Think of guitars riffs for example, or synthesizer melodies in electronic music. Take a listen to Gerry Rafferty’s ‘Baker Street’ below – the most well-known melody in this song is that killer saxophone hook rather than the vocal line.
How to Write a Melody
There aren’t really any hard and fast rules when it comes to writing melodies, but there are some boundaries and techniques you should probably consider. To begin with, you will be writing your melody over the chord sequence that you have already created, so you will probably be writing the melody in the same key.
If you stick to the notes that are present in each chord then your music will sound very consonant. If you sing notes from outside of those chords, the music can become a little more dissonant and this can add some tension. How far you stray from the chords will probably depend quite a lot on your genre of music.
You will need to think about how often you repeat melodic passages and also how you develop them. Repeating a melody can get it lodged inside a listener’s brain – but repeat it too often and it can get boring. Try and strike the right balance. Think about the direction of your melody too; raising the pitch as you head towards the chorus can give the melody – and the rest of the song - a real lift.
From a practical perspective you can write a melody on a MIDI keyboard if you have one, or you can write one into your DAW with a mouse; though this isn’t the most natural way to write music! If you don’t have keyboard skills then perhaps try singing a melody over your chord sequence until you are happy with it.
When you’re ready, you can then use your mouse to find the notes of your melody in the DAW. Remember that an important part of melody is also rhythm! It’s not just the pitch of notes that creates the melody, it’s how long you hold them for, and how long the gaps between them are.
Writing a Song
With a beat, chord sequence, and melody in place, we are already a long way towards having written a complete song. With some lyrics and a few finishing touches we will be all the way there.
How to Write a Song
There have been a huge number of books written on how to write great songs, so while we can give you a quick breakdown here, it’s worth remembering that there is always more to learn. While writing lyrics can be challenging, the key to success is often to start by just getting ideas down; either on paper or straight into your DAW. Though not all of them may prove effective, it is preferable to continue the creative process, editing and refining the best material until a cohesive whole is achieved, rather than striving for perfection on the first try and risking producing nothing at all.
A good way to begin can be with the chorus. This is the centerpiece of the song and by writing this first you can set the tone for the other sections. Try looping this section and singing over it again and again, hopefully your ideas will slowly start to coalesce into something that you like. Don’t be hard on yourself if inspiration doesn’t strike.
Some days our first idea is great, other days the well is dry and we can’t come up with anything we like. If you’re drawing a blank it’s OK to put the song aside in order to come back and try again another day.
When the majority of the song is written, you can start to put the finishing touches to it – maybe you need to change the arrangement by shortening the second verse or doubling the last chorus for instance. Hopefully these changes will suggest themselves to you when you listen back to the song. You can also add things like vocal harmonies at this point.
Mixing Your Music
If the beat, the harmony, the melody and the lyrics are the ingredients of our cake, then right now we’ve got them all stirred together but they are still in their raw form. Mixing is putting the cake in the oven and baking it so that it is ready for consumption, and mastering is putting the final icing on the cake.
What is Mixing in Music?
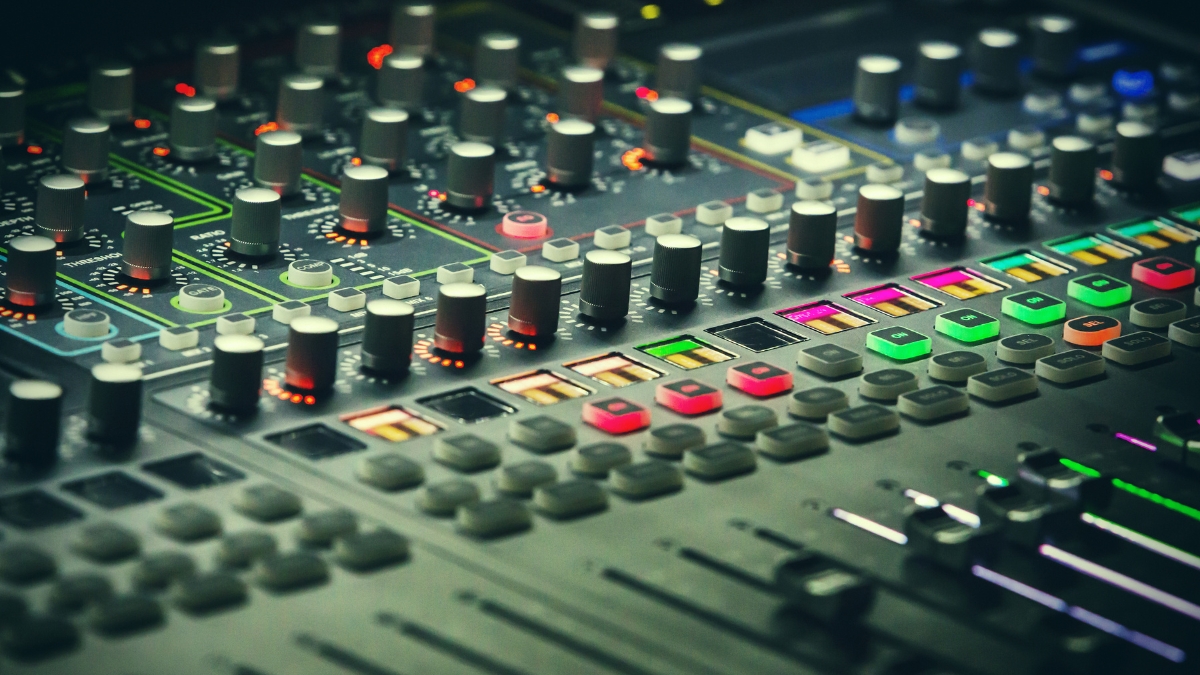
Mixing is the process of combining and balancing all of the individual parts that make up your piece of music. During this part of the process you can decide which parts you want in the foreground and which you want in the background (if everything is in the foreground your mix will be cluttered and you won’t be able to hear anything properly). It’s also a time to add colour to the music through the use of effects – these can help situate the music in a particular genre or just make it more interesting to listen to.
How to Mix Your Music
Mixing is another huge subject that can take years to master, but there are some basic workflow tips that we can share now to help you get started. It’s a good idea to bring all of your faders right the way down to begin with, and then gradually introduce the instruments one at a time by bringing the faders up.
Start with the drums and percussion. When you are happy with how that sounds, bring in the bass until it feels like it is at the right level compared to the drums. Gradually bring in everything else; guitars, synths, lead vocals, backing vocals.
Now think about your stereo field – you should aim to spread your instruments in a balanced way from left to right across the speakers through use of panning. It is common practice to keep the kick, snare, bass and lead vocals more or less in the centre, and then pair other elements off so they balance against each other; a rhythm guitar on the right and a lead guitar on the left for example.
From this point you should look to use effects like EQs and compressors to further balance your mix and effects like reverb and delay to add colour and depth. Playing with sound like this can be a lot of fun – so don’t be afraid to just get stuck in and enjoy yourself! You can learn a lot by simply experimenting, you don’t always have to follow specific learned procedures.
Train Your Ears!
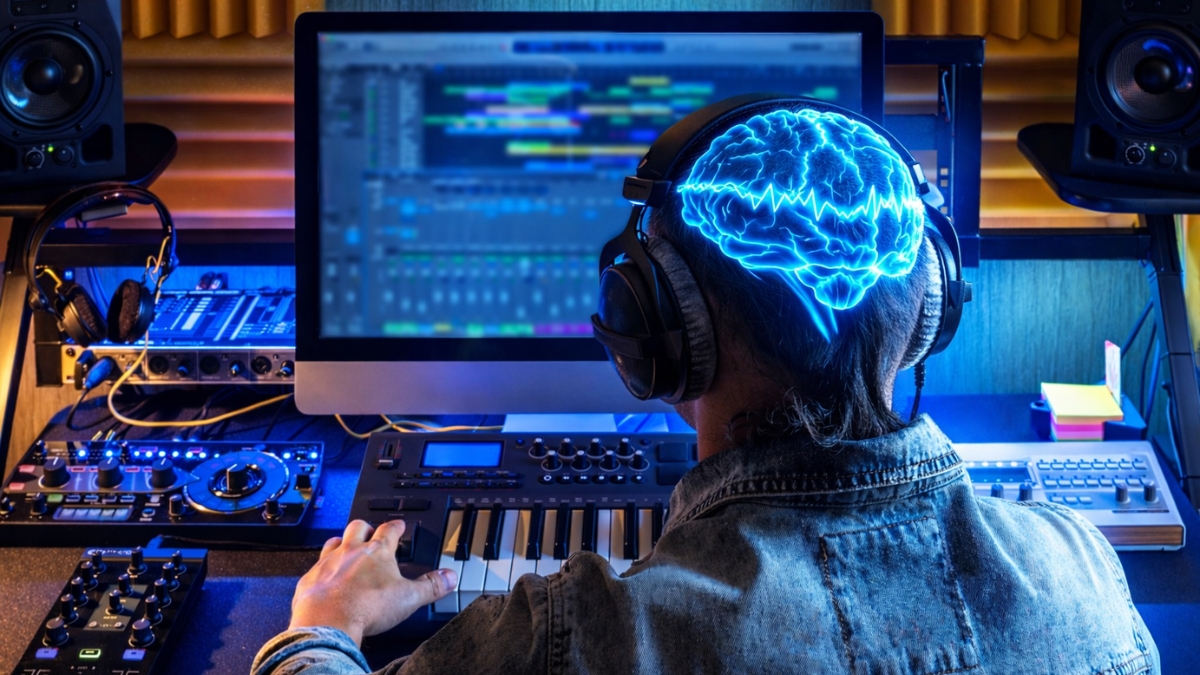
It may surprise you to learn that listening is a skill – but it absolutely is. And like any other skill, you can improve it with practice. One of the main reasons that pro engineers can produce better results than amateurs is because years and years of working on music have improved their listening skills. This means that they are able to accurately identify problems in a mix and fix them. They are highly attuned to how effects processes change the sound of their audio and can dial in those effects in a way that is sympathetic to the needs of the entire piece of music they are working on. Once upon a time the only way you could get better at listening was by working on music, but now there is a shortcut.
What is Audio Ear Training?
Audio ear training is specially designed to fast track the process of improving your listening skills. Over time, ear training can help music producers to identify and adjust the frequency, dynamics, and spatial elements of each sound in a mix, resulting in a more balanced and polished final product.
How to Train Your Ears
The best place to train your ears is SoundGym. The platform offers a range of interactive exercises that are precision-designed to improve your listening skills in ways that will directly benefit your mixing.
SoundGym offers a wide range of audio training exercises and courses, covering topics such as EQ, compression, reverb, and more. This process is designed to be engaging and interactive, ensuring that ear training is fun and enjoyable – after all, that’s why you got into the idea of making music in the first place, right? The platform uses gamification techniques to keep you motivated and help you track your progress.
Master Your Track
The final part of the process of creating your music is mastering – the ‘icing on the cake’ in our analogy above.
What is Mastering?
Mastering is the final step in the production process of music before it is commercially released. It can be considered as a final touch-up to the track to ensure that it sounds its best across a wide variety of playback devices, from small phone speakers to large festival sound systems. Mastering involves using different tools like equalization, compression, limiting, and stereo enhancement to balance out the sonic elements of the track. It aims to optimize the track's loudness to meet commercial standards and make it suitable for different playback formats, such as CD, vinyl, or streaming services.
How to Master Your Track?
The good news is that you can master a track right there in your DAW, and the tools to do it – plugins such as compressors, limiters and EQs - probably come as standard with the software you purchased. If you’re not ready to learn how to master a track yourself, there are also services out there such as LANDR, that use AI to master your track quickly and cheaply.
That’s it! From start to finish, if you follow our process you will be able to complete a piece of music that will be ready to share with the world. There is so much more to learn, but that fact should absolutely not get in the way of you starting right now. There is nothing at all to be afraid of, so just start creating. And remember to have fun!
Comments:
Login to comment on this post